Installing the WAPT management console
Note
managing WAPT is done mainly via the WAPT console installed on the Administrator’s workstation;
the Administrator’s computer must be joined to the Organization’s Active Directory;
the host name of the Administrator’s workstation must not be longer than 15 characters. This is a limit of sAMAccountName attribute in Active Directory;
the Administrator’s computer will become critical for WAPT administration and WAPT package testing;
if DNS records are properly configured, you should be able to access the WAPT web interface by visiting: https://srvwapt.mydomain.lan;
Downloading and launching the installation of the WAPT console on the Administrator’s computer
Attention
Warning, the WAPT console MUST NOT be installed on your Windows based WAPT Server.
The WAPT console must be installed on the workstation from which you manage your network.
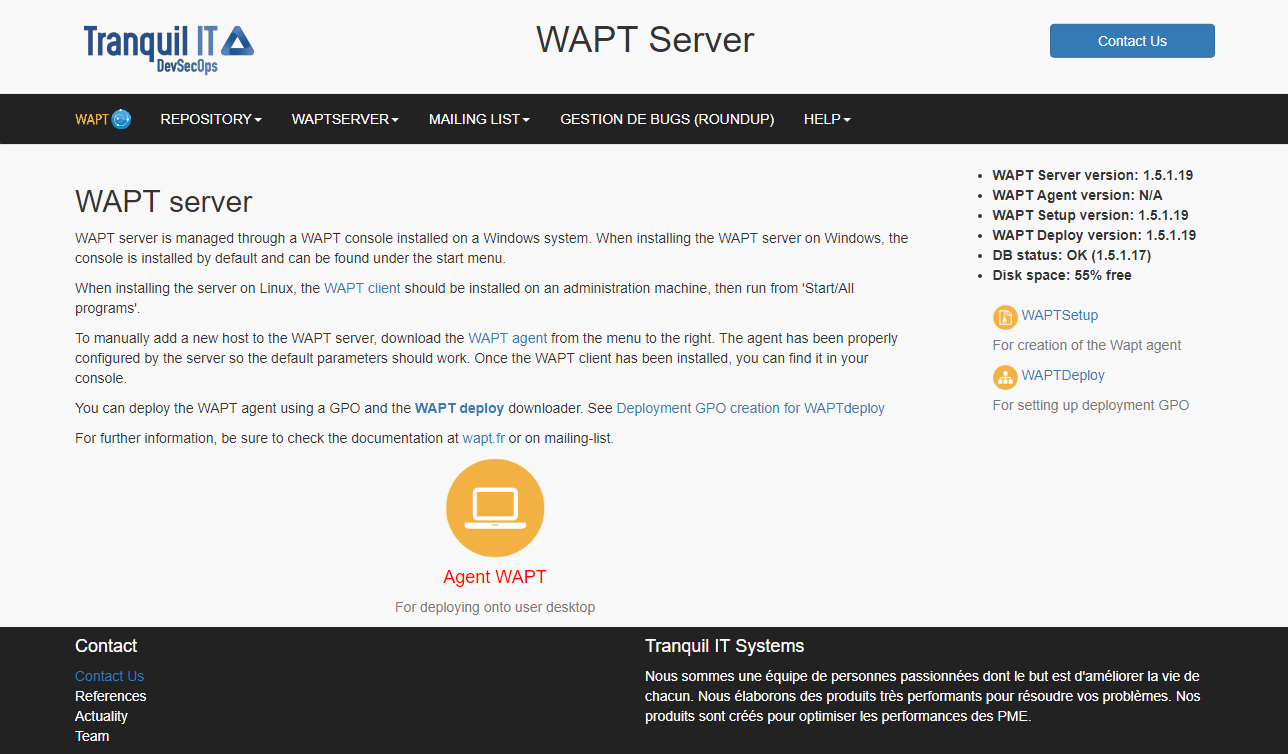
WAPT Server web interface
if DNS records are properly configured, you should be able to access the WAPT web interface by visiting: https://srvwapt.mydomain.lan;
click on WAPTSetup link on the right-hand side of the WAPT Server web page;
start the executable installer as Local Administrator on the Administrator’s workstation;
choose the language and click on OK to install the WAPT console;
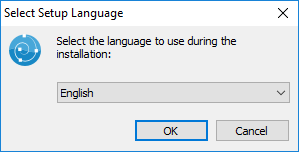
Choose the language for WAPT
click on OK to go on to the next step;
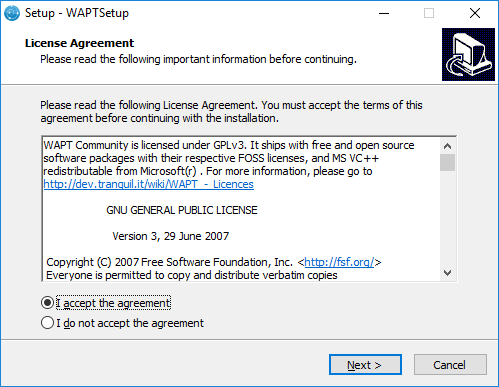
Accept the WAPT license terms
accept the licence terms and click on Next to go to next step;
choose the WAPT destination folder (
C:\Program Files (x86)\waptby default);
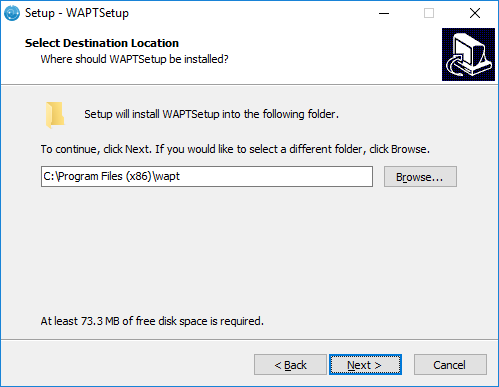
Choose the WAPT destination folder
click on Next and choose your installation options (default value should be right for most installations);
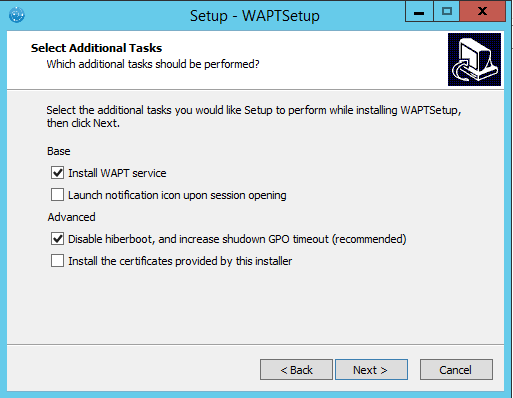
Choose the installer’s options
Note
check Install WAPT service if you want to have the WAPT service running on your Administrator workstation;
check Launch notification tray upon session opening if you want to have the WAPT icon running in the tray by default;
Setting up the WAPT Server URL
Hint
Here, two choices become available to you, you may choose to be guided by the configuration wizard and go directly to Using the WAPT console, or you may choose to continue manually with the configuration.
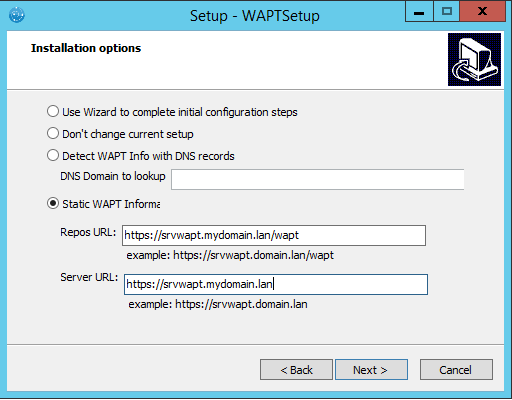
Choose the WAPT repository and server
Note
Example:
WAPT repository URL: http://srvwapt.mydomain.lan/wapt
WAPT Server URL: https://srvwapt.mydomain.lan
choose the language and click on OK to install the WAPT console;
click Next and then Install to launch the installation, wait for the installation to complete, then click on Finish (leave default options);
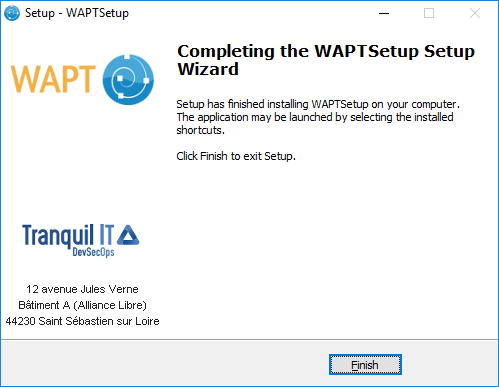
Installation Wizard has finished
Note
check Register this computer onto WAPT server to register the computer with the WAPT Server;
check Update the list of available package on the main repository to download the list of available packages from the WAPT repository;
Starting the WAPT console
launch the WAPT console by looking for the binary
C:\Program Files (x86)\wapt\waptconsole.exeon first start, you must start the WAPT console with elevated privileges. ;
log into the WAPT console with the SuperAdmin login and password;
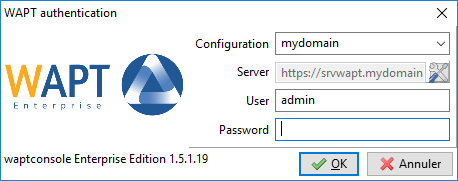
WAPT Server connexion form
if you have any issue logging into the WAPT console, please refer to the FAQ: Error message when opening the WAPT console;
Note
A message may appear indicating that your WAPT agent version is obsolete or not yet present.
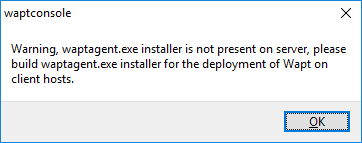
Mismatch error between the versions of the console and that of the agent
Go to the next step to create your certificate!!