Building the WAPT agent installer
Choosing the mode to uniquely identify the WAPT agents
In WAPT you can choose the unique identification mode of the agents.
When a WAPT agent registers the server must know if it is a new machine or if it is a machine already registered.
For this, the WAPT server looks at the unique number “UUID” in the inventory.
WAPT offers 3 modes of operation to help you distinguish between hosts, it is up to you to choose the mode that best suits you.
Attention
After choosing a mode of operation it is difficult to change it, think carefully!
Identifying the WAPT agents by their BIOS UUID (serial number)
This mode of operation makes it possible to identify the machines in the console in a physical manner.
If you replace a computer and give the new computer the same name as the previous one, you will have two computers that will appear in the WAPT console since you will have physically two different computers.
Note
Some vendors do inadequate work and assign the same BIOS UUIDs to entire batches of computers. In this case, WAPT will only see one computer …
Identifying the WAPT agent by host name
This mode of operation is similar to that in Active Directory. The machines are identified by their hostname.
Note
This mode does not work if several machines in your fleet share the same name. We all know it should not happen!!
Identifying the WAPT agents with a randomly generated UUID
This mode of operation allows PCs to be identified by their WAPT installation. Each installation of WAPT generates a unique random number. If you uninstall WAPT and then reinstall it, you will see a new pc appear in your console.
Building the WAPT agent installer
The waptagent binary is an InnoSetup installer.
Once the WAPT console has been installed on the Administrator computer, we have all files required to build the WAPT agent installer.
files that will be used during building of the WAPT agent are located in
C:\Program Files (x86)\wapt;installer source files (
.issfiles) are located inC:\Program Files (x86)\wapt\waptsetup;
Hint
Before building the WAPT agent, please verify the public certificate(s)
in C:\Program Files (x86)\wapt\ssl.
If you wish to deploy other public certificates on your Organization’s computers that are equipped with WAPT, you will have to copy them in that folder.
Danger
DO NOT COPY the private key of any Administrator
in C:\Program Files (x86)\wapt.
This folder is used when building the WAPT agent and the private keys would then be deployed on all the computers.
In the WAPT console, go to .
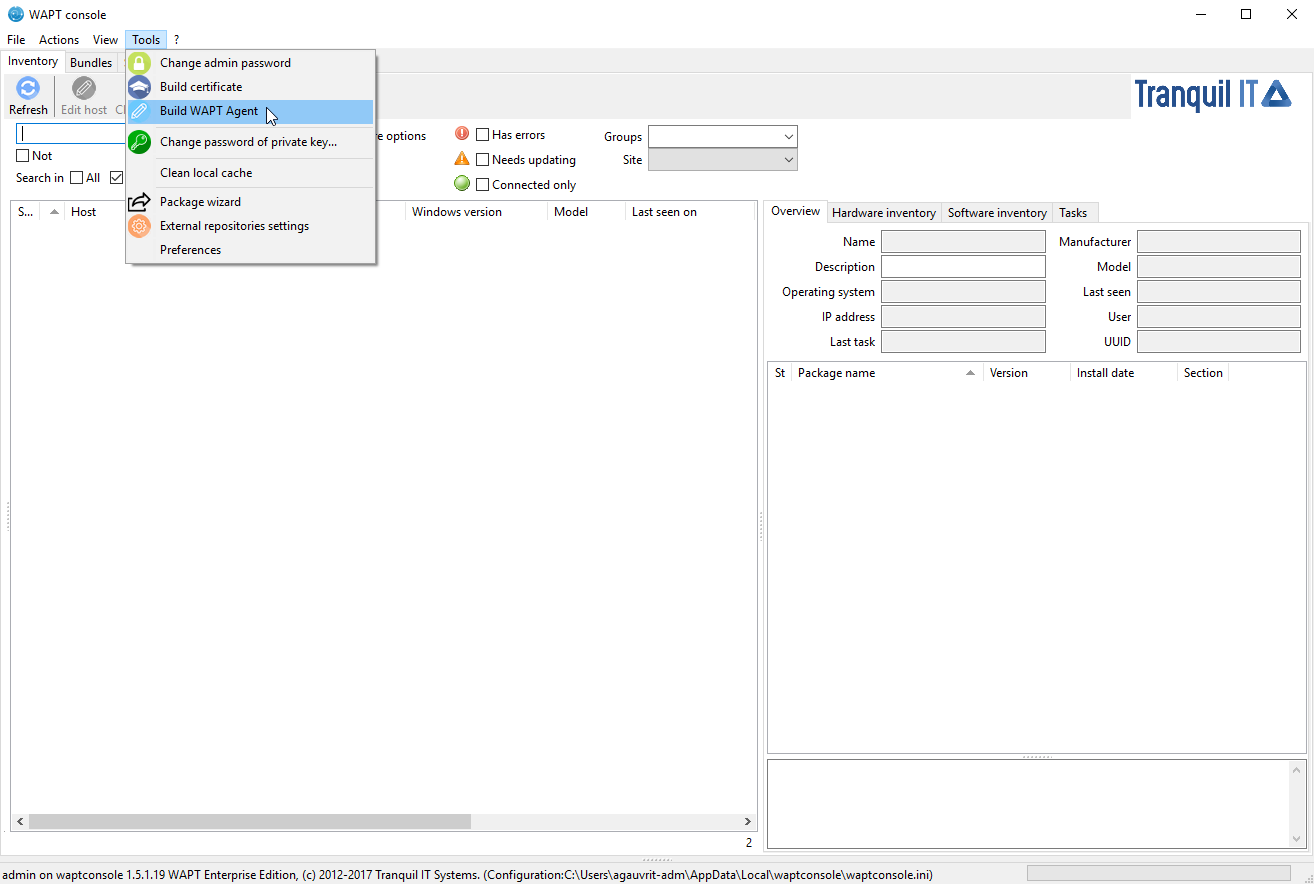
Generate the WAPT agent from the console
fill in the informations that are necessary for the installer:
the field Public certificate: required;
example :
C:\private\mydomain.crtthe field Address of the WAPT repository: required;
example : https://srvwapt.mydomain.lan/wapt
the field Address of the WAPT Server: required;
example : https://srvwapt.mydomain.lan
the checkbox Verify the WAPT Server HTTPS certificate;
the field Path to the bundle of certificates to verify the HTTPS certificate of the WAPT Server;
the checkbox Use Kerberos for registering WAPT agents;
the field Organization to identify the origin of WAPT packages;
the field Sign waptupgrade with both sha256 and sha1 can be ignored because it is only useful when upgrading from version 1.3;
the field Use computer FQDN for UUID and Use random host UUID (for buggy BIOS) (see explanation in the previous paragraph of this documentation);
the field Enable AD Groups enables the installation of profile packages based on the Active Directory groups of which the machine is a member. This feature can degrade the performance of WAPT;
the field Append host’s profiles allows you to define a list of WAPT packages to install obligatorily;
the field Automatic periodic packages audit scheduling defines the frequency at which the WAPT agent checks whether it has audits to perform;
Windows update section, refer to this article on configuring WAPTWUA on the WAPT agent;
Danger
The checkbox Use Kerberos for the initial registration must be checked ONLY IF you have followed the documentation on Configuring the Kerberos authentication.
The checkbox Verify the WAPT Server HTTPS certificate**must be checked **ONLY IF you have followed the documentation on Activating the verification of the SSL / TLS certificate.
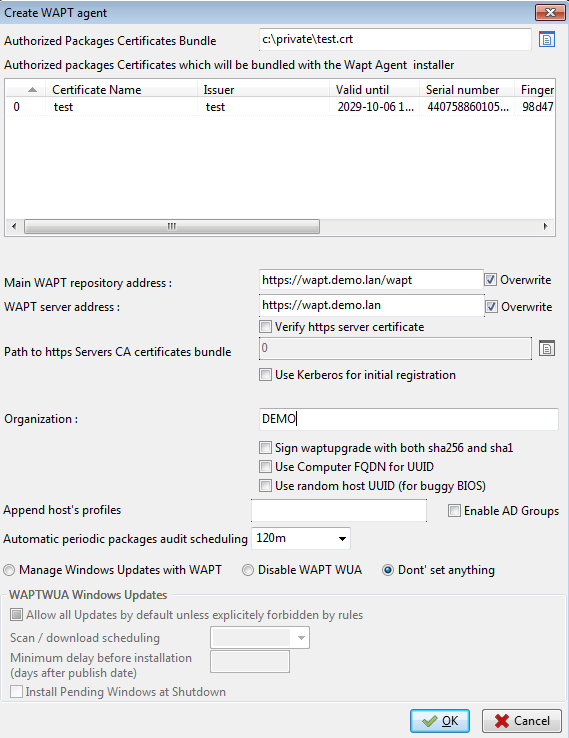
Fill in the informations on your Organization
provide the password for unlocking the private key:
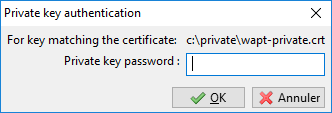
Provide the password for unlocking the private key

Progression of WAPT agent installer building
Once the WAPT agent installer has finished building, a confirmation dialog pops up indicating that the waptagent binary has been successfully uploaded to https://srvwapt.mydomain.lan/wapt/.
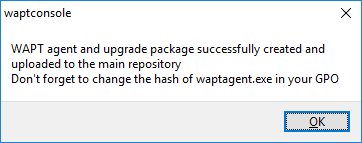
Confirmation of the WAPT agent loading onto WAPT repository
Note
A warning shows up indicating that the GPO hash value should be changed. GPOs may be used to deploy the WAPT agent on your Organization’s computer.
Updating the WAPT agents
The test-waptupgrade package has also been uploaded on the repository.
The test-waptupgrade package contains the WAPT agent with arguments
specified during the installation of WAPT on your Administrator’s computer.
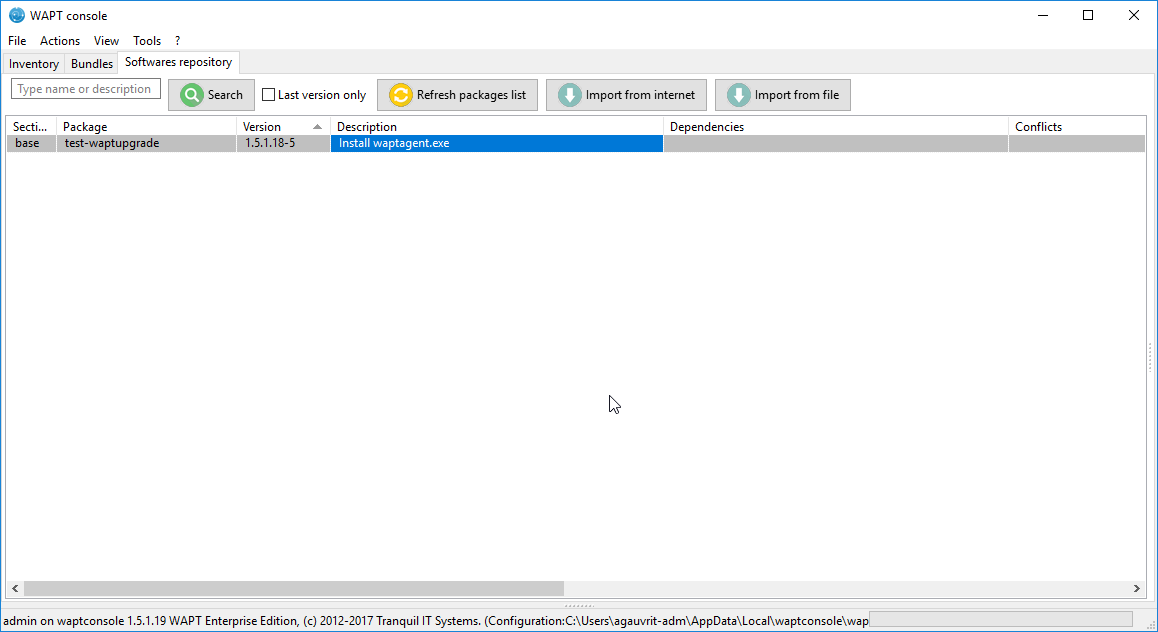
New WAPT agent in the repository
Note
This package is a standard WAPT package designed to upgrade WAPT agents on client machines.
Upgrading the WAPT agents using the xxx-waptupgrade package is a two step process:
first the package copies the new
waptagent.exefile on the client computer and creates a new scheduled task that will run waptagent.exe with predefined installation flags two minutes after the creation of the scheduled task. At that point the package itself is installed and the inventory on the server shows the package installation as OK, with correct version installed, but the inventory will still show the old version as the agent is not yet updated.after two minutes the scheduled task starts and runs waptagent.exe. waptagent.exe shutdowns the local WAPT service, upgrades the local WAPT install, and then restarts the service. The scheduled task is then automatically removed and the WAPT agent sends back its inventory to the WAPT server. Now the inventory on the server will show the new version of the agent.
From an administrator point of view, looking at the console you will see the following steps:
xxx-waptupgrade package starts being installed;
xxx-waptupgrade is installed, the machine is up to date from a package list point of view, but the version in the inventory is still the old version of the WAPT agent;
after two minutes the computer connectivity status switches to disconnected as the WAPT agent is updated;
after around two minutes the client computer gets back up online in the console and updates its inventory and shows the new version;
What can go wrong during the upgrades
the most common issue with the upgrading process is the local antivirus blocking the installation (WAPT is a software installer that keeps a websocket opened to a central management server, so this behavior may be flagged as suspicious by an antivirus, even though this method is the basis of end point management…). If you have an issue when deploying the upgrade, please check your antivirus console and whitelist the waptagent.exe. Another option is to re-sign the waptagent.exe binary if your organization has an internal code signing certificate;
the second most common issue is that for some reason another program is locking a DLL that ships with WAPT. This can happen with poorly designed software installers that pick up the local %PATH% variable first and then find WAPTs own openssl or python DLL;
the third most common issue is a defective Windows install that does not run scheduled tasks properly, and yes we have seen this!!