Hint
If your WAPT Server is a virtual host, take a snapshot of the VM. This way, you will be able to go back easily in the rare case that the update fails.
Warning
After each WAPT Server update, update your WAPT Console, then regenerate the WAPT Agent.
Before upgrading WAPT Server, please refer to the following upgrading compatibility chart:
To WAPT 2.2 |
|
|---|---|
From WAPT 1.8.2 |
|
From WAPT 2.0 |
|
From WAPT 2.1 |
Note
For all older versions, please refer to the 2.1 documentation
Warning
If upgrading from a version less than WAPT 2.1, the licence activation process has changed.
Switching of WAPT Edition (Community, Discovery, Enterprise)
WAPT Community is not suppported anymore on version WAPT 2.2. If you want to upgrade from WAPT 1.8.2 Community you can upgrade to WAPT 2.2 Discovery. Please note that WAPT Discovery is limited to 300 client computers maximum.
To upgrade from a WAPT Community setup to WAPT Discovery or Enterprise follow the standard 1.8.2 to 2.2 upgrade documentation.
The WAPT Server will make the appropriate changes.
To upgrade WAPT Discovery to WAPT Enterprise simply upload a valid licence to the WAPT Server from the WAPT Console.
If your Enteprise licence expire, it will fall back on the Discovery Edition. If you have more that 300 client computers in your server while in Discovery mode, the console will be limited and you’ll have to delete computer entries in the inventory in order to go below the 300 computers limit.
Upgrading from version 2.2 to latest
Choose your distribution
Update the underlying distribution and upgrade WAPT Server
export DEBIAN_FRONTEND=noninteractive
apt update && apt upgrade -y
apt install tis-waptserver tis-waptsetup -y
unset DEBIAN_FRONTEND
Launch the post-configuration step post-configuration step
Once completed your WAPT Server is ready.
Update the underlying distribution and upgrade WAPT Server
yum update -y
yum install tis-waptserver tis-waptsetup -y
Launch the post-configuration step post-configuration step
Once completed your WAPT Server is ready.
Download and execute
waptserversetup.exe.
Attention
The installation of the WAPT Server MUST be done using a Local Administrator account on the host
Choose the language for the WAPT installer.
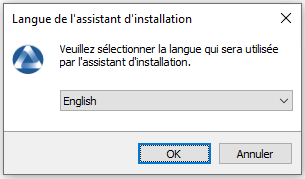
Click on OK to go on to the next step.
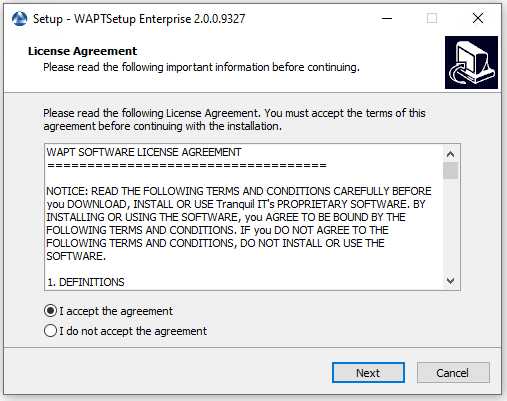
Accept the licence terms and click on Next to go to next step.
Choose additional configuration tasks (leave the default if not sure).
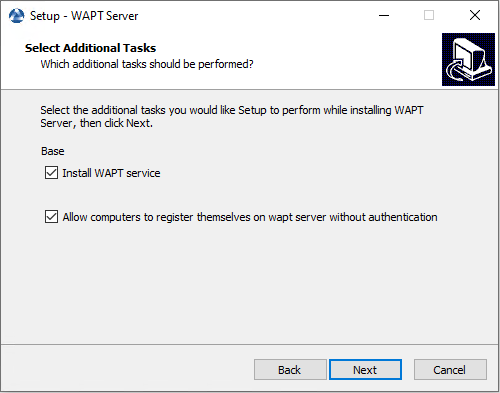
Choosing the installer options for deploying the WAPT Server
Do not change the password for the WAPT Server (if not necessary).
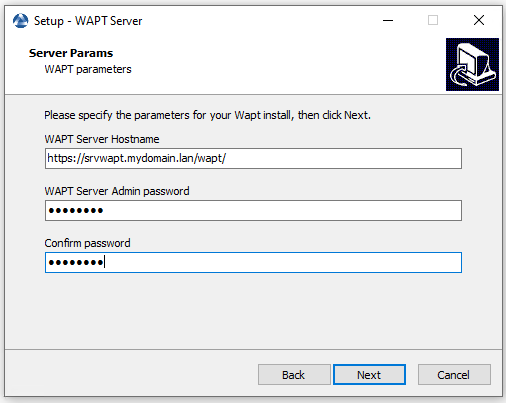
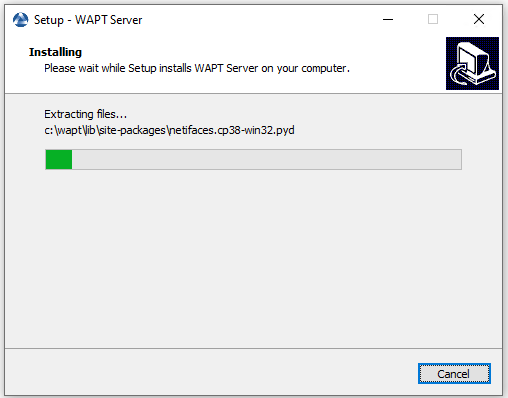
Click on the Install to launch the installation, wait for the installation to complete.
Click on Finish to close the window.
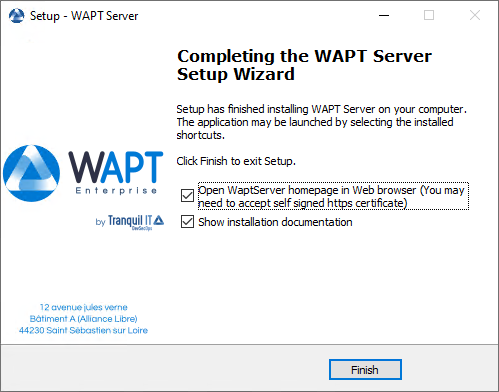
The WAPT Server on your Windows is ready.
Upgrading from version 2.0 or 2.1 to 2.2
Note
Before upgrading, ensure that installation requirements are met.
Choose your distribution
First of all, update the underlying distributionand install the WAPT Server packages.
apt update && apt upgrade -y
apt install apt-transport-https lsb-release gnupg
Then the update the package repository and import the GPG key from the repository.
wget -O - https://wapt.tranquil.it/$(lsb_release -is)/tiswapt-pub.gpg  | apt-key add -
echo "deb https://wapt.tranquil.it/$(lsb_release -is)/wapt-2.2/ $(lsb_release -c -s) main" > /etc/apt/sources.list.d/wapt.list
Update the repository and install the packages.
export DEBIAN_FRONTEND=noninteractive
apt update
apt install tis-waptserver tis-waptsetup -y
unset DEBIAN_FRONTEND
Launch the post-configuration step post-configuration step
First of all, update the underlying distribution and necessary packages.
yum update -y
yum install epel-release redhat-lsb-core -y
Then add or update the package repository WAPT packages and import the GPG key from the repository.
cat > /etc/yum.repos.d/wapt.repo <<EOF
[wapt]
name=WAPT Server Repo
baseurl=https://wapt.tranquil.it/centos$(lsb_release -rs | cut -f1 -d.)/wapt-2.2/
enabled=1
gpgcheck=1
EOF

wget -q -O /tmp/tranquil_it.gpg "https://wapt.tranquil.it/centos$(lsb_release -rs | cut -f1 -d.)/RPM-GPG-KEY-TISWAPT-$(lsb_release -rs | cut -f1 -d.)"; rpm --import /tmp/tranquil_it.gpg
And finally upgrade the WAPT Server
yum install tis-waptserver tis-waptsetup cabextract -y
Download and execute
waptserversetup.exe.Choose the language for the WAPT installer.

Click on OK to go on to the next step.

Accept the licence terms and click on Next to go to next step.
If old folder installation found, this message appear. Click on Yes to go on to the next step.
Select additional task if needed.

Choosing the installer options for deploying the WAPT Server
Change the WAPT Server password if needed, then press Next.

Click on the Install to launch the installation, wait for the installation to complete.

Click on Finish to close the window.

Attention
DO NOT use the WAPT Console on the WAPT Server. DO NOT install nor run your WAPT package development tools on the WAPT Server.
The WAPT Server on your Windows server or workstation is ready.
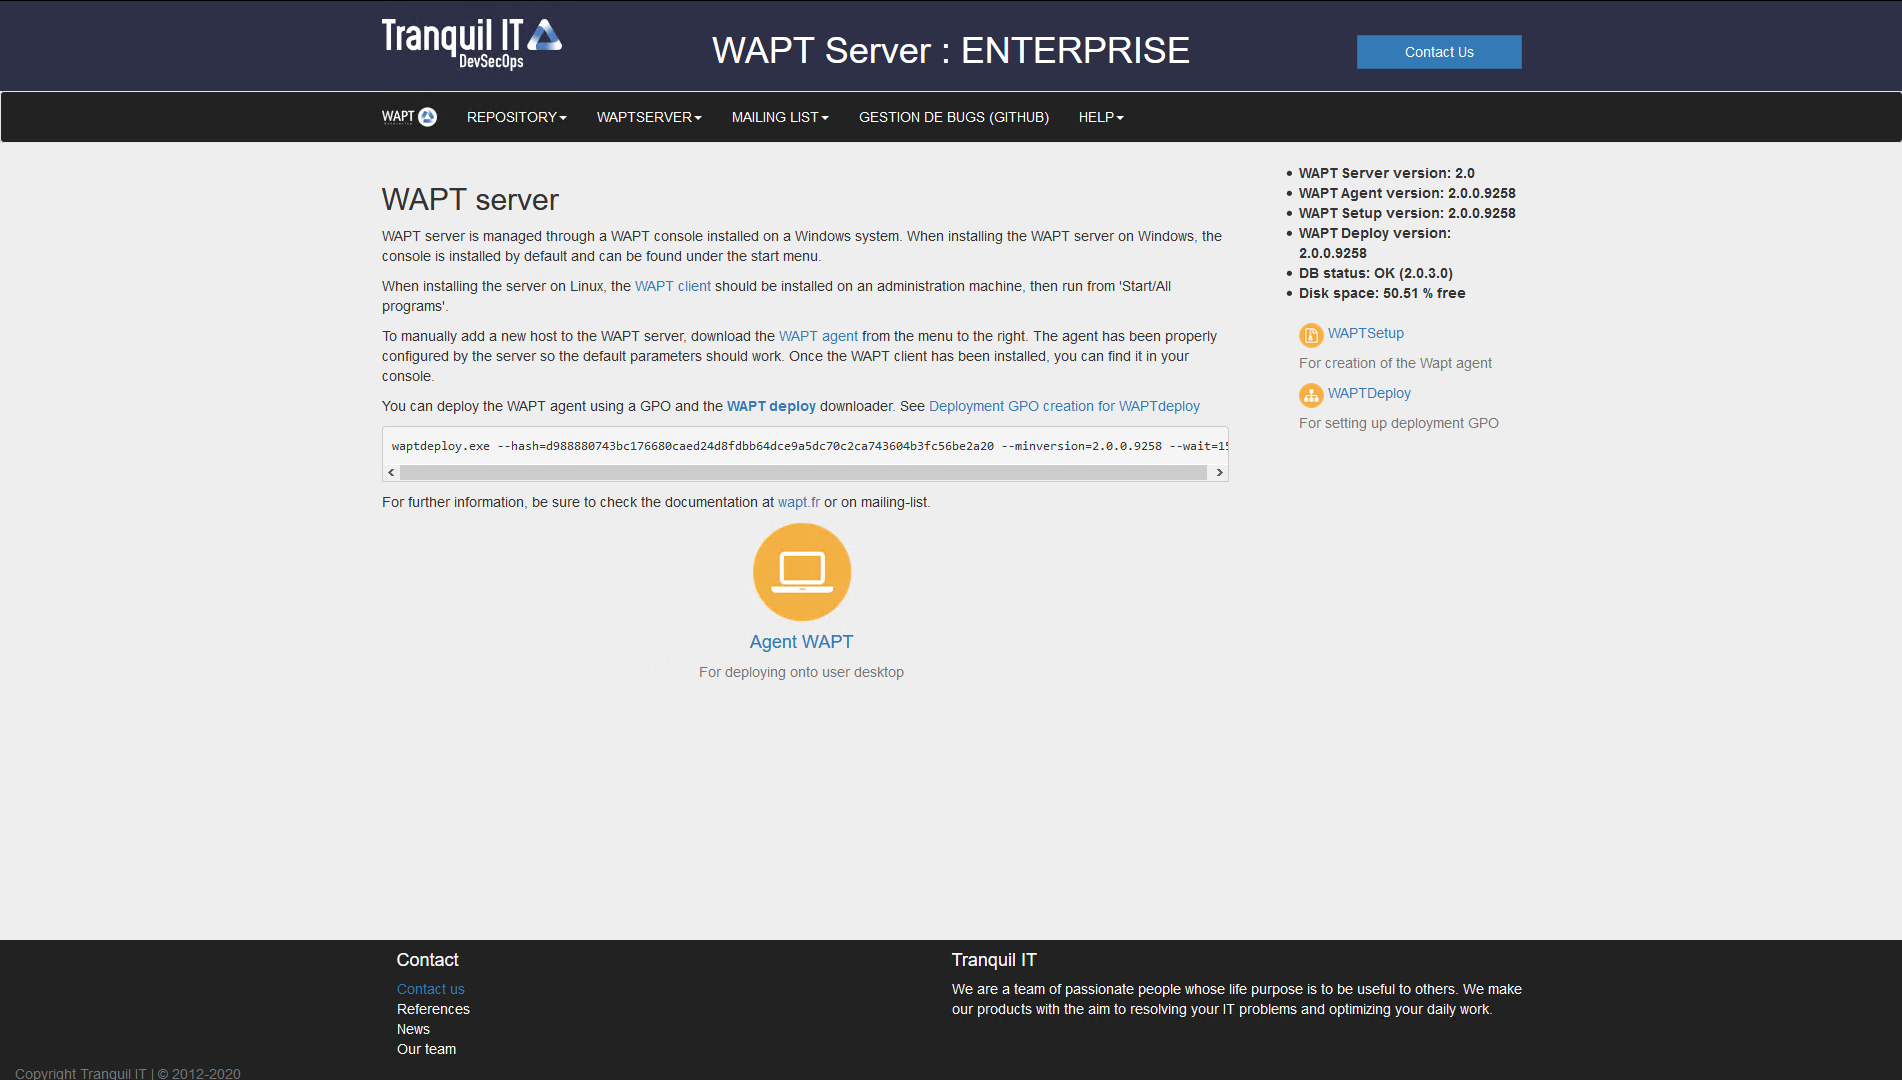
The WAPT Server interface in a web browser
Your WAPT Server is now ready. You may now go to the documentation on Installing the WAPT management Console.
Upgrading from version 1.8.2 to 2.2
Note
Before upgrading, ensure that installation requirements are met.
Warning
On WAPT 2.1 and upper licence activation is changed.
Choose your distribution
Note
If you are running on Debian9 Stretch, you have first to upgrade to Debian10 Buster before upgrading to WAPT 2.x. The WAPT Server 2.x is not available for Debian9.
It is even recommended to upgrade to Debian 11 Bullseye. In this case, upgrade from Debian 9 => Debian 10 => Debian 11.
First of all, update the underlying distribution and install the WAPT Server packages.
apt update && apt upgrade -y
apt install apt-transport-https lsb-release gnupg
Then update the package repository and import the GPG key.
wget -O - https://wapt.tranquil.it/$(lsb_release -is)/tiswapt-pub.gpg  | apt-key add -
echo "deb https://wapt.tranquil.it/$(lsb_release -is)/wapt-2.2/ $(lsb_release -c -s) main" > /etc/apt/sources.list.d/wapt.list
Update the repository and install the packages.
export DEBIAN_FRONTEND=noninteractive
apt update
apt install tis-waptserver tis-waptsetup -y
unset DEBIAN_FRONTEND
Launch the post-configuration step post-configuration step
Re-sign all your WAPT Packages.
First of all, update the underlying distribution and necessary packages.
yum update -y
yum install epel-release redhat-lsb-core -y
Then add or update the package repository WAPT packages and import the GPG key from the repository.
cat > /etc/yum.repos.d/wapt.repo <<EOF
[wapt]
name=WAPT Server Repo
baseurl=https://wapt.tranquil.it/centos$(lsb_release -rs | cut -f1 -d.)/wapt-2.2/
enabled=1
gpgcheck=1
EOF

wget -q -O /tmp/tranquil_it.gpg "https://wapt.tranquil.it/centos7/RPM-GPG-KEY-TISWAPT-7"; rpm --import /tmp/tranquil_it.gpg
And finally upgrade the WAPT Server
yum install tis-waptserver tis-waptsetup cabextract -y
Launch the post-configuration step post-configuration step
Re-sign all your WAPT Packages.
Download and execute
waptserversetup.exe.Choose the language for the WAPT installer.

Click on OK to go on to the next step.

Accept the licence terms and click on Next to go to next step.
If old folder installation found, this message appear. Click on Yes to go on to the next step.
Select additional task if needed.

Choosing the installer options for deploying the WAPT Server
Change the WAPT Server password if needed, then press Next.

Click on the Install to launch the installation, wait for the installation to complete.

Click on Finish to close the window.


The WAPT Server interface in a web browser
The WAPT Server on your Windows server or workstation is ready.
Attention
DO NOT use the WAPT Console on the WAPT Server. DO NOT install nor run your WAPT package development tools on the WAPT Server.
Your WAPT Server is now ready. You may now go to the documentation on Installing the WAPT management Console.
Re-sign all your WAPT Packages.