Installing WAPT Server on Windows
Attention
The WAPT Server can not be installed on a computer with services already listening on port 443 (example WSUS with IIS).
Port 443 is used by the WAPT Server and must be available.
If port 443 is already occupied by another web service, you should take a look at the Microsoft official documentation for changing the default ports on Windows.
The WAPT server will not run on a x86 version of Windows.
The installation of the WAPT server must be done using a Local Administrator account on the host and NOT a Domain Administrator account.
Danger
Nginx is the ONLY supported web server with WAPT. Apache or IIS (with or without WSUS) are NOT supported in WAPT.
In case of problems when installing WAPT, visit the Frequently Asked Questions.
Note
Installing WAPT on a Linux server is the recommended method, unless you are trialing WAPT and you are not familiar with Linux.
The WAPT Server may be installed on 64bit system only for fresh Windows version currently supported by Microsoft.
Hint
The server component of WAPT works just as well on a win10 client VM or a physical machine as it does on a Windows server version.
Discovery
Important
Follow this procedure for getting the right packages for the WAPT Discovery Edition. For WAPT Enterprise Edition please refer to the next block.
Note
Not Available as of 2024-09-20.
WAPT Discovery will be release later. For the free version, refer to wapt-1.8 documentation https://www.wapt.fr/en/doc-1.8/
Enterprise
Hint
To access WAPT Enterprise resources, you must use the username and password provided by our sales department.
Download and execute
waptserversetup.exe.
Attention
The installation of the WAPT server must be done using a Local Administrator account on the host and NOT a Domain Administrator account.
Warning
The post-configuration script rewrites the nginx configuration.
If you use a special configuration, save your nginx.conf file with the command:
copy C:\wapt\waptserver\nginx\conf\nginx.conf C:\wapt\waptserver\nginx\conf\nginx.conf.old
- It will be necessary to overwrite the configuration
after the post-configuration with the command:
copy C:\wapt\waptserver\nginx\conf\nginx.conf.old C:\wapt\waptserver\nginx\conf\nginx.conf
Choose the installation language.
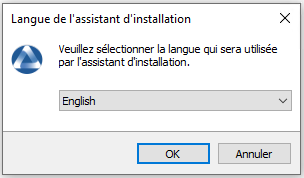
Choose the language for WAPT
Accept the GNU Public License and click on Next to go on to the next step.
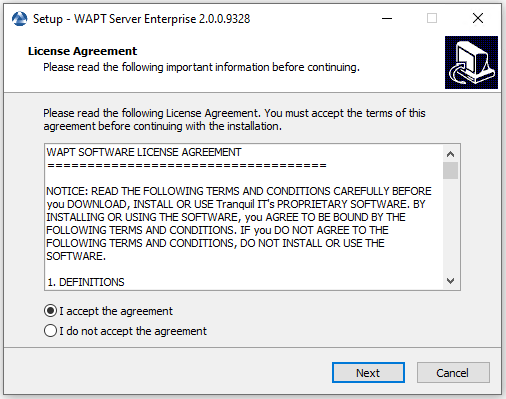
Accept the WAPT license terms
Choose the installation directory (leave the default) and click on Next to go on to the next step.
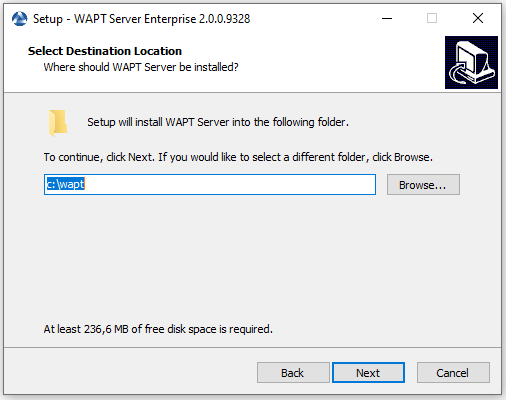
Choose the WAPT destination folder
Choose additional task (leave the default if not sure).
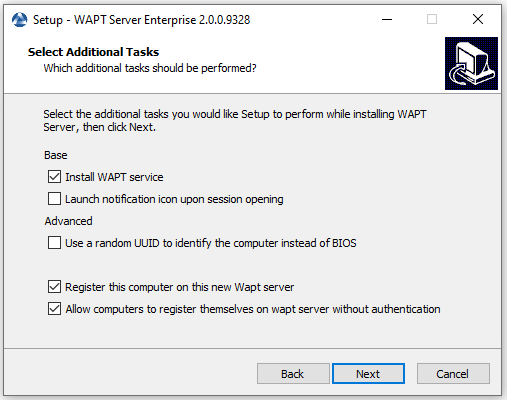
Choose additional task
Choose the password for the WAPT server.
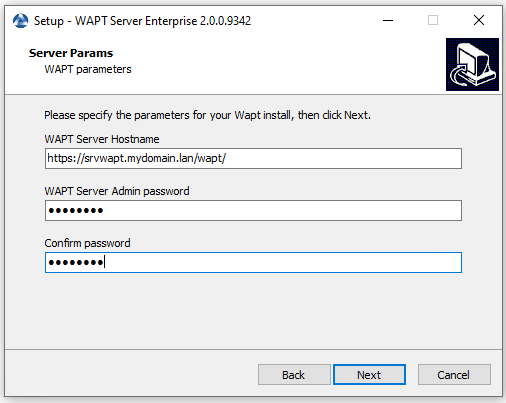
Choose Password
Skip creating personal key, we will create your certificate later.
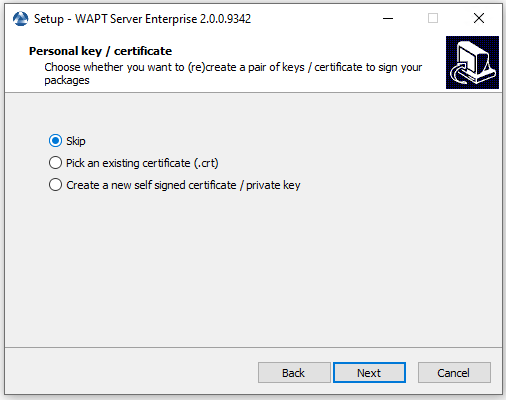
Skip create the signature key
Skip building the WAPT agent, we will do it later.
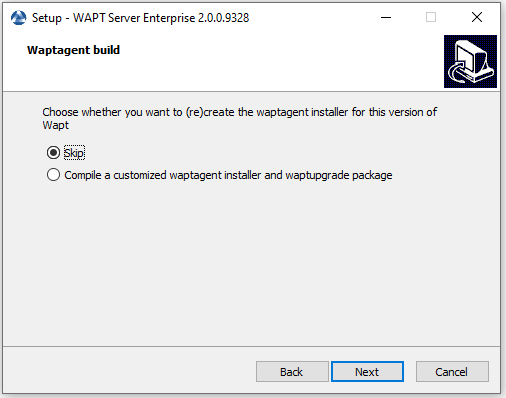
Skip build the WAPT agent
Click on the Install to launch the installation, wait for the installation to complete.
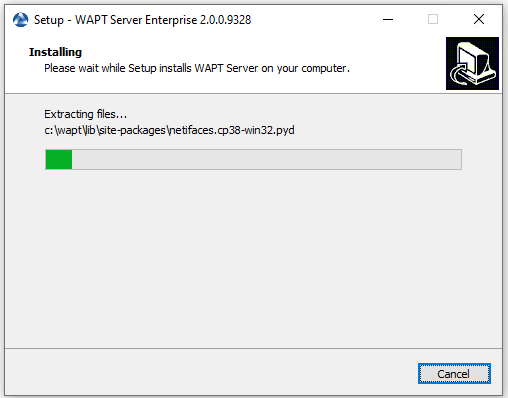
Progress of installation of the WAPT Server
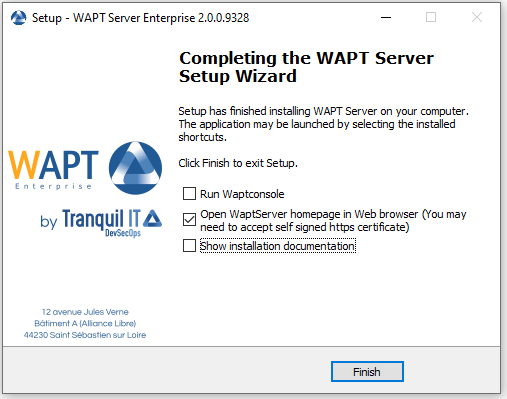
Installation has finished
Click on Finish to close the window.
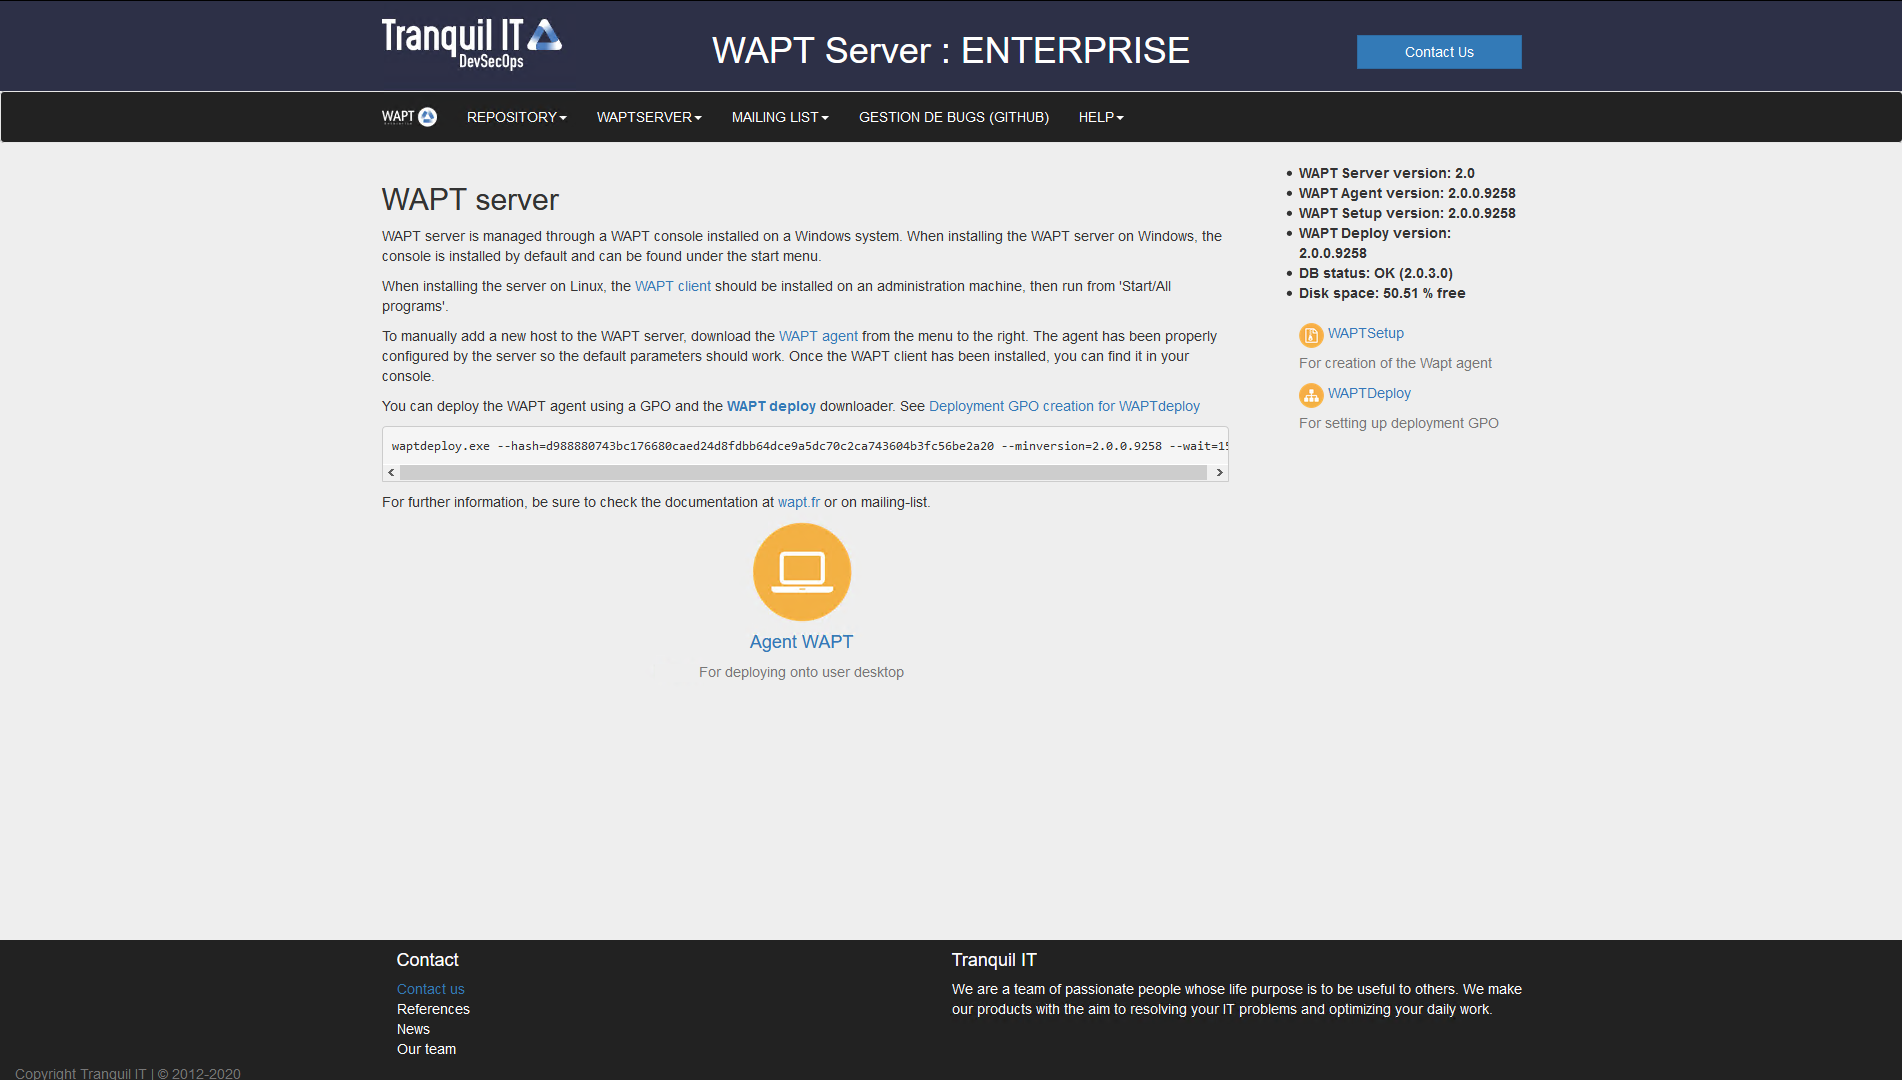
The WAPT Server on your Windows is ready.
Attention
For security, do not run the WAPT console or your WAPT package development tool on the WAPT server.
Your server is now ready. You may now go to the documentation on Installing the WAPT management console.